How To Install Roof Vents In 4 Steps?
Proper attic ventilation plays a vital role in protecting your home’s roof and overall energy efficiency. Learning how to install roof vents correctly can help extend your roof’s lifespan, prevent moisture buildup, and improve indoor comfort. As licensed roofers, we ensure every ventilation system is installed with precision to keep homes safe, durable, and efficient year-round.
- Ventilation importance: Understand why roof vents are critical for energy efficiency and roof health.
- Step-by-step process: Learn how professional installers complete a safe and effective installation.
- Long-term benefits: Discover how roof vents protect your home from moisture and heat buildup.
Why Roof Vents Are Important
Roof vents play a key role in maintaining proper airflow between your attic and the outside environment. Without adequate ventilation, trapped heat and humidity can cause serious damage to roofing materials and reduce energy efficiency throughout your home.
The Purpose of Roof Ventilation
A balanced system of intake and exhaust vents keeps your attic cool in the summer and dry in the winter. Intake vents, located in the soffits or eaves, allow fresh air to enter. Exhaust vents, located at the roof ridge or gable ends, allow warm, moist air to escape. Together, these vents regulate temperature and humidity levels, making this part one of the most crucial parts of your roof and will also protect the insulation.
Problems Caused by Poor Ventilation
- Moisture buildup: Trapped humidity can lead to mold, mildew, and wood rot.
- Ice dams: In cold climates, inadequate ventilation can cause snowmelt and refreezing along the eaves.
- Higher energy costs: Overheated attics increase the strain on your air conditioning system.
- Shingle deterioration: Excess heat accelerates the breakdown of asphalt and underlayment materials.
Types of Roof Vents
Before installation, it’s important to choose the right type of vent based on your roof’s design and airflow needs.
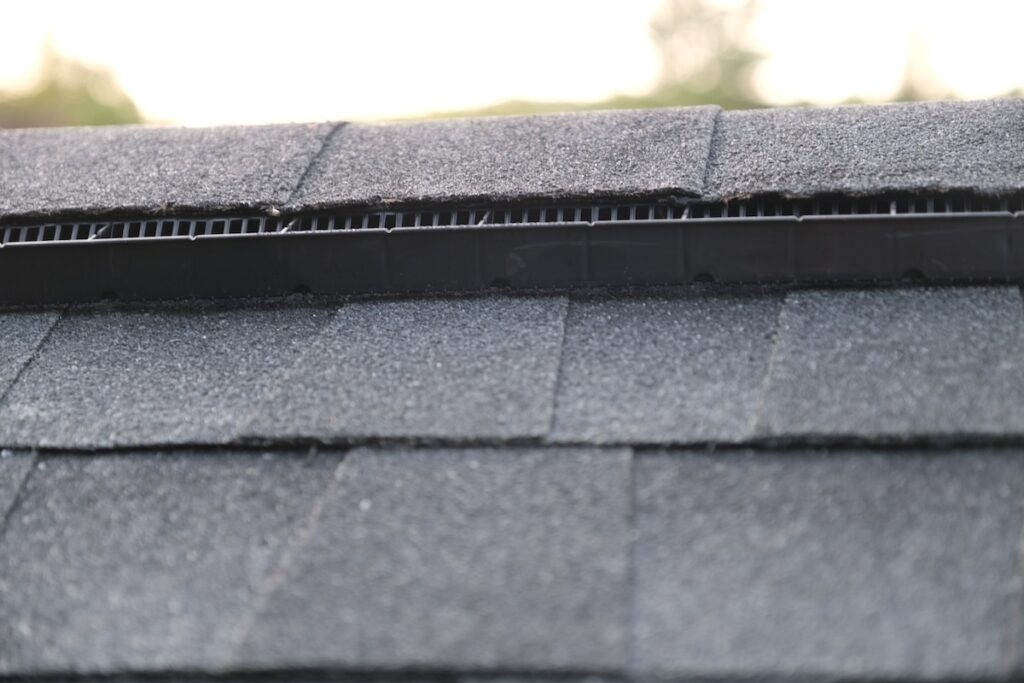
- Ridge vents: Installed along the roof peak for consistent, passive airflow.
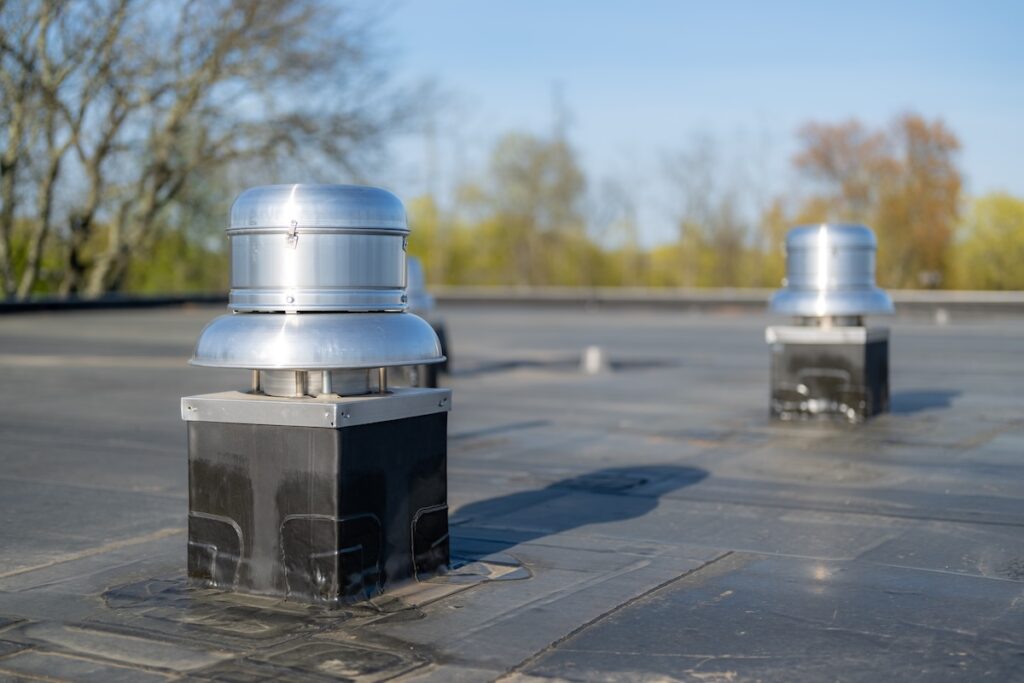
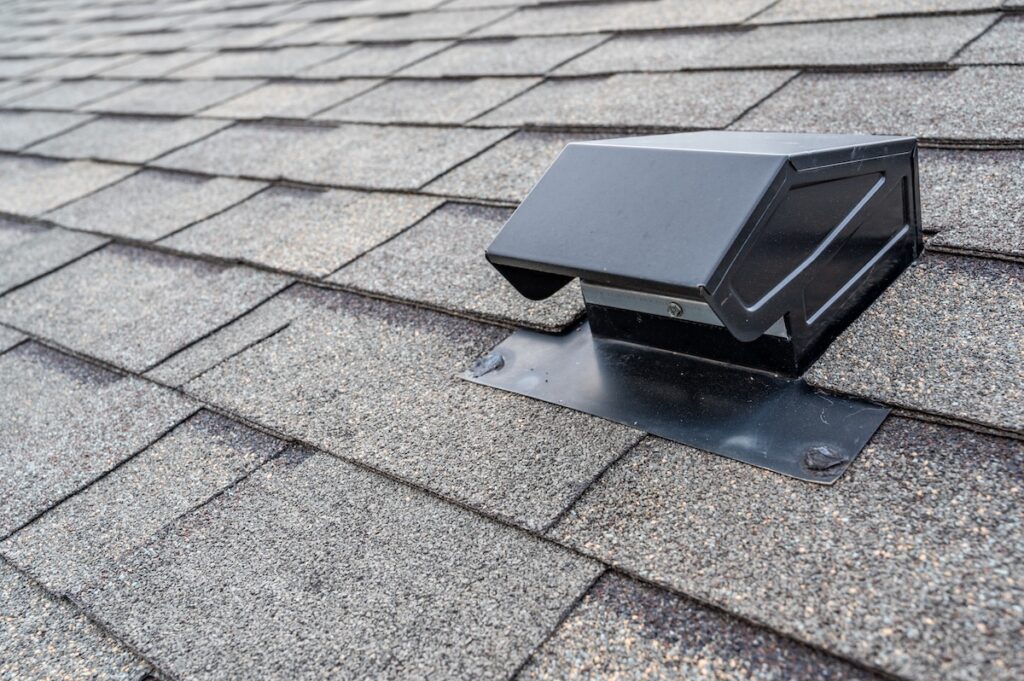
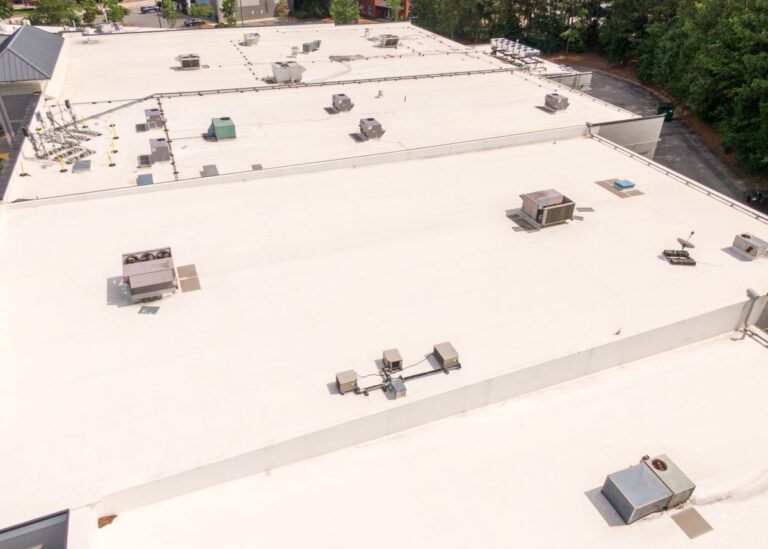
- Box vents: Square or rectangular vents placed near the ridge to release hot air.
- Turbine vents: Spinning vents powered by wind to enhance air circulation.
- Gable vents: Placed at the ends of the attic for cross-ventilation in gable-style roofs.
- Soffit vents: Installed beneath the eaves to provide fresh air intake for the ventilation system.
Each type serves a unique function, and many homes benefit from a combination of intake and exhaust systems for balanced airflow.
4 Steps To Install Roof Vents
Installing roof vents requires precision, safety precautions, and proper sealing to ensure performance and durability. Here are the four primary steps professional roofers follow during installation.
- Plan and Measure the Vent Placement: The first step is to determine where the vents should be placed for maximum airflow. Installers assess the attic space, note existing ventilation, and calculate the number of vents required based on the roof’s square footage. Proper spacing ensures even air distribution and prevents hot spots in the attic.
- Cut Openings in the Roof Deck: Once the locations are marked, roofers cut openings through the shingles and decking. Using specialized tools, they create precise openings that match the vent dimensions. It’s essential to maintain clean, even cuts to prevent leaks and structural damage.
- Install and Secure the Roof Vents: Vents are placed into the prepared openings, then sealed with roofing cement and secured with corrosion-resistant nails. Proper alignment and sealing are critical to prevent water infiltration. For ridge vents, continuous vent strips are installed along the roof peak and capped with shingles to maintain a seamless look.
- Seal and Inspect the Installation: After securing the vents, roofers seal the surrounding areas with flashing or additional roofing cement for watertight protection. A final professional inspection ensures all vents are firmly in place, properly sealed, and aligned with existing ventilation components. Capstone Roofing always performs a quality check to confirm optimal airflow and moisture resistance.
Safety Considerations During Roof Vent Installation
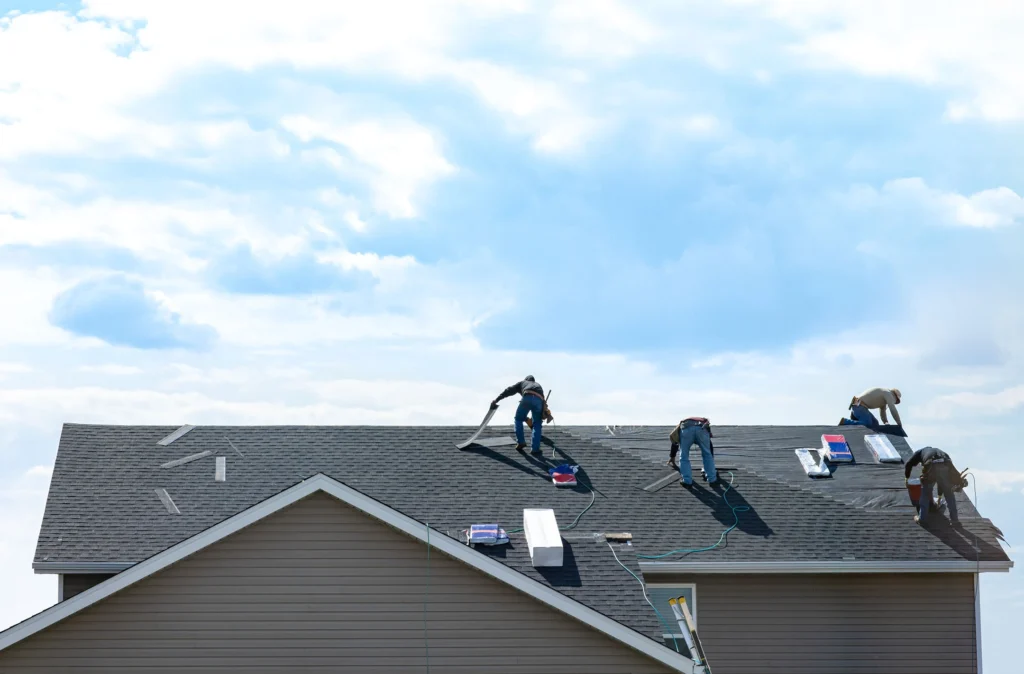
Working on a roof involves safety risks, which is why professional installation is strongly recommended. Certified roofing experts have the experience and tools to complete the job safely and efficiently.
- Proper equipment: Using roof harnesses, safety ropes, and stable ladders prevents falls.
- Weather conditions: Installation should only occur on dry, calm days to reduce slipping hazards.
- Electrical safety: Avoid cutting near wiring or attic lighting fixtures to prevent accidents.
- Structural awareness: Roofers evaluate decking integrity before cutting or installing vents.
How Roof Vents Improve Energy Efficiency
A well-ventilated attic contributes to a more energy-efficient home by reducing heat buildup and maintaining consistent indoor temperatures.
Temperature Control
By allowing hot air to escape, roof vents reduce attic heat levels by up to 30 degrees during summer. This lowers cooling costs and prevents premature wear on HVAC systems.
Moisture Management
During winter, roof vents allow humidity to escape, preventing condensation that can damage insulation and wooden structures. This moisture control helps preserve indoor air quality and the long-term health of your home.
Extended Roof Lifespan
Proper ventilation reduces thermal stress on roofing materials, preventing curling, cracking, and premature missing shingles due to aging. This protection extends the overall lifespan of the roof system.
Tailoring Installation to Your Roof Type
The installation process isn’t one-size-fits-all; it depends heavily on your home’s architecture. For example, gable vents are straightforward to install on vertical exterior walls, but they aren’t an option for hip roofs, which typically require a continuous ridge vent system for effective exhaust. Understanding the structural ventilation needs of a hip roof vs gable roof ensures you select the right products and installation points to achieve balanced airflow across the entire attic space.
Maintenance Tips for Roof Vents
Regular maintenance keeps roof vents functioning efficiently and ensures your attic remains properly ventilated.
- Inspect annually: Check for debris, rust, or loose fasteners once a year.
- Clean soffit vents: Use a vacuum or air compressor to remove dust and dirt buildup.
- Monitor attic conditions: Look for signs of condensation, mold, or unusual heat accumulation.
- Schedule professional inspections: Capstone Roofing can evaluate your ventilation system and make adjustments as needed.
Why Choose Professional Roof Vent Installation
Although some homeowners may consider roof vent installation a DIY project, professional service ensures accuracy, safety, and warranty protection.
- Precision workmanship: Experts ensure proper vent placement and sealing to maximize airflow.
- Code compliance: Professionals adhere to building codes and manufacturer guidelines.
- Warranty preservation: Improper DIY installation can void roof warranties.
- Peace of mind: Experienced contractors deliver long-term reliability and safety.

Protect Your Home With Proper Roof Vent Installation
Understanding how to install roof vents correctly is essential for maintaining a healthy, energy-efficient home. Proper ventilation prevents moisture buildup, improves comfort, and extends the life of your roofing system.
At Capstone Roofing, we specialize in professional roof vent installation that enhances airflow and protects your home year-round. Our experts handle every step with care, from planning and cutting to sealing and inspection. For dependable ventilation solutions and a free installation estimate, contact Capstone Roofing today—your trusted partner for lasting roof performance.

4.8 RATING
5.0 RATING
A+ RATING