How to Shingle a Roof? (Step-by-Step Guide)
Many homeowners wonder how to shingle a roof when it comes time for repairs or replacements. While the process may seem straightforward, shingling requires careful planning, proper tools, and knowledge of roofing techniques. A roof that isn’t installed correctly can lead to leaks, damage, and expensive repairs. This guide walks through the basics so you know what goes into the process, and why hiring professionals like Capstone Roofing is the smartest choice for most homeowners.
- Preparation is critical: A smooth roof deck and proper safety steps set the foundation for success.
- Layering matters: Each course of roof shingles protects the one below it from water intrusion.
- Experience counts: Professionals understand safety, codes, and techniques that keep the roofing project efficient and durable.
Why Shingling a Roof Matters
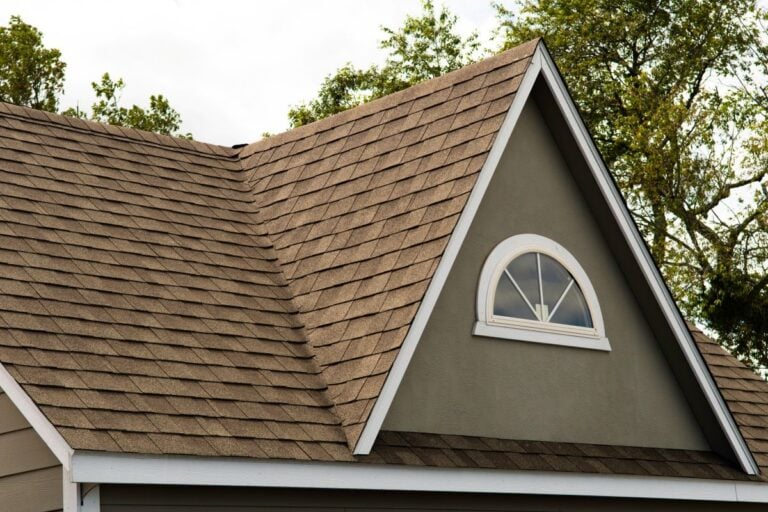
Shingles are more than just a decorative cover. They protect your home from wind, rain, and sunlight while extending the lifespan of your roof deck and roof sheathing. Learning how to shingle a roof helps homeowners understand what to expect during installation and why each step matters for long-term performance.
Tools and Materials Needed
Before beginning, roofers prepare all the materials and equipment required for a safe, efficient job.
- Asphalt shingles: The most common choice, available in 3-tab shingles or architectural styles.
- Starter strip: Forms the foundation along the lower edge to keep water from seeping under shingles.
- Underlayment: A waterproof barrier installed between the roof sheathing and shingles.
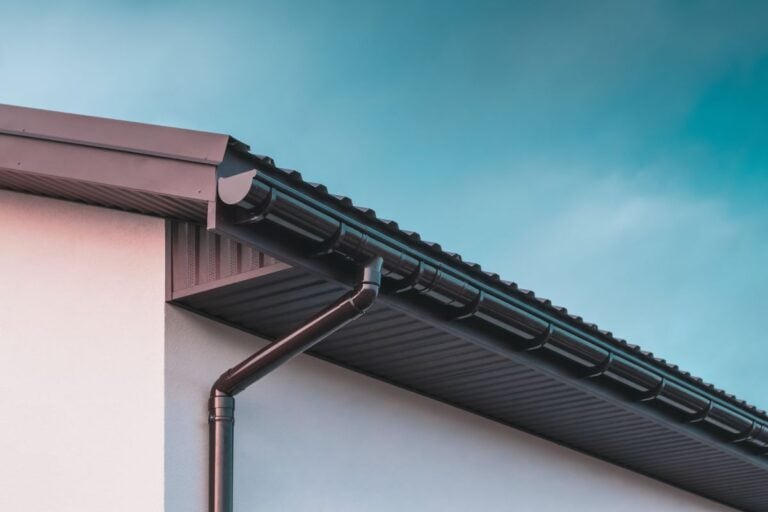
- Drip edge: Metal edging installed at the lower edge and upper edge of the roof to guide water into gutters.
- Metal flashing: Placed around chimneys, valleys, and vents to prevent leaks.
- Roofing nails and hammer/nail gun: Used to secure roof shingles into place, with nail heads driven flush.
- Roofing cement: Seals shingles, flashing, and other vulnerable areas.
- Chalk lines: Snapped across the roof deck to ensure straight rows.
- Utility knife: For trimming and to cut shingles as needed.
- Ladder and safety gear: Prevent accidents during the roofing project.
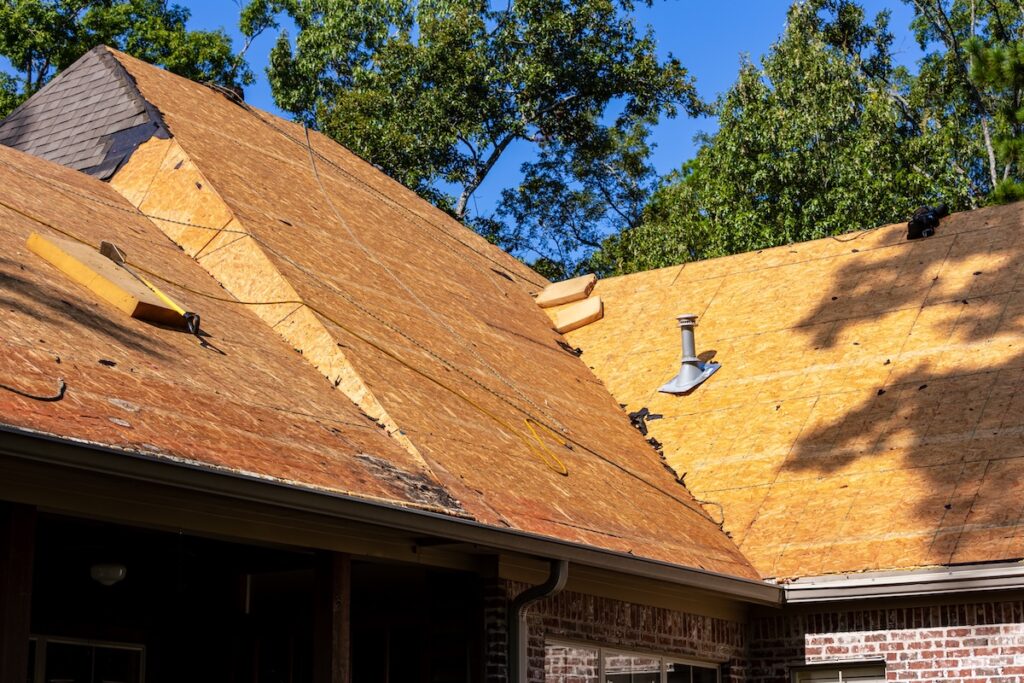
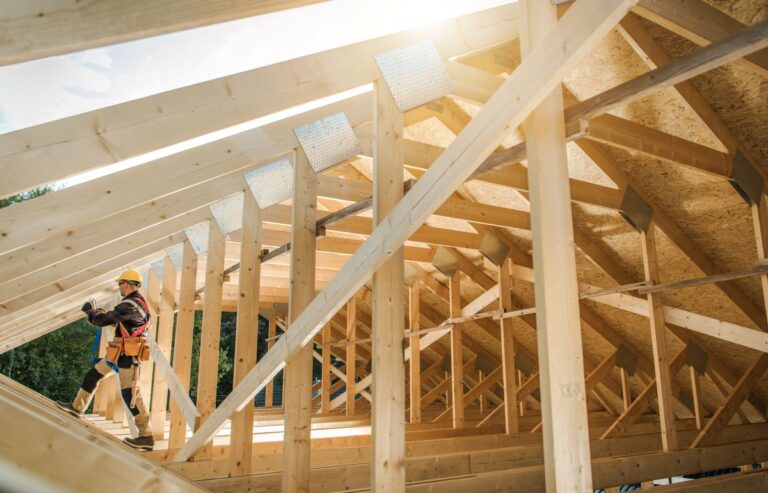
Step 1: Prepare the Roof Surface
The process begins by removing old shingles, nails, and underlayment. Roofers then inspect the roof deck for rot or soft spots, replacing any damaged roof sheathing to ensure stability. A clean, smooth deck creates a proper foundation for new roof shingles.
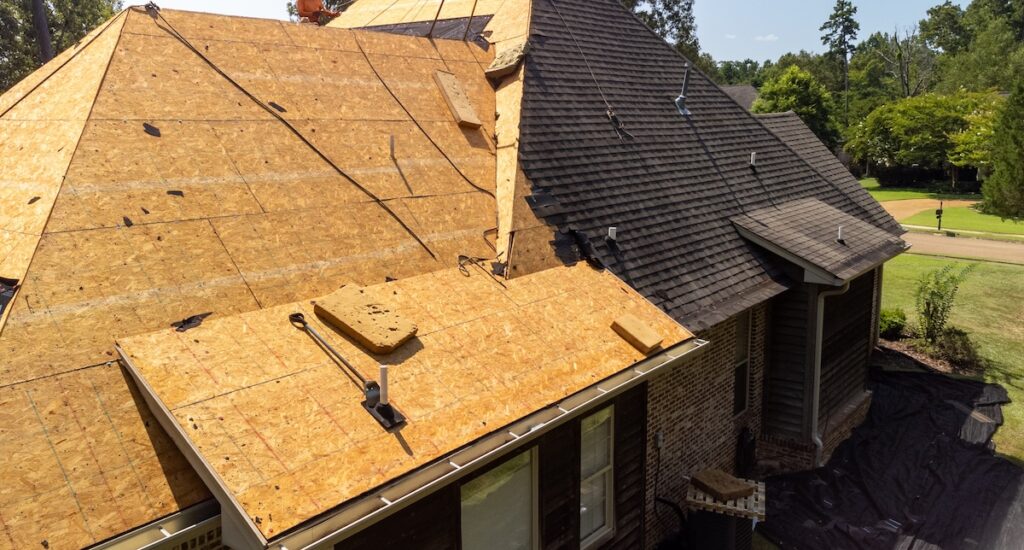
Step 2: Install Underlayment, Drip Edge, and Flashing
Once the deck is prepped, underlayment is rolled out from the lower edge upward, overlapping rows for maximum coverage. A drip edge is nailed along the eaves to keep water away from the fascia. Metal flashing is installed around chimneys, vents, and valleys, since these areas are the most common sources of leaks. Roofing cement is used to seal seams and corners for added waterproofing.
Step 3: Create a Starter Strip
A starter strip is applied along the lower edge of the roof. Some roofers use cut shingles to form this row, while others use manufactured strips. This starter row helps direct water off the roof and ensures the first shingle course bonds tightly to the tar strip, preventing uplift from strong winds.
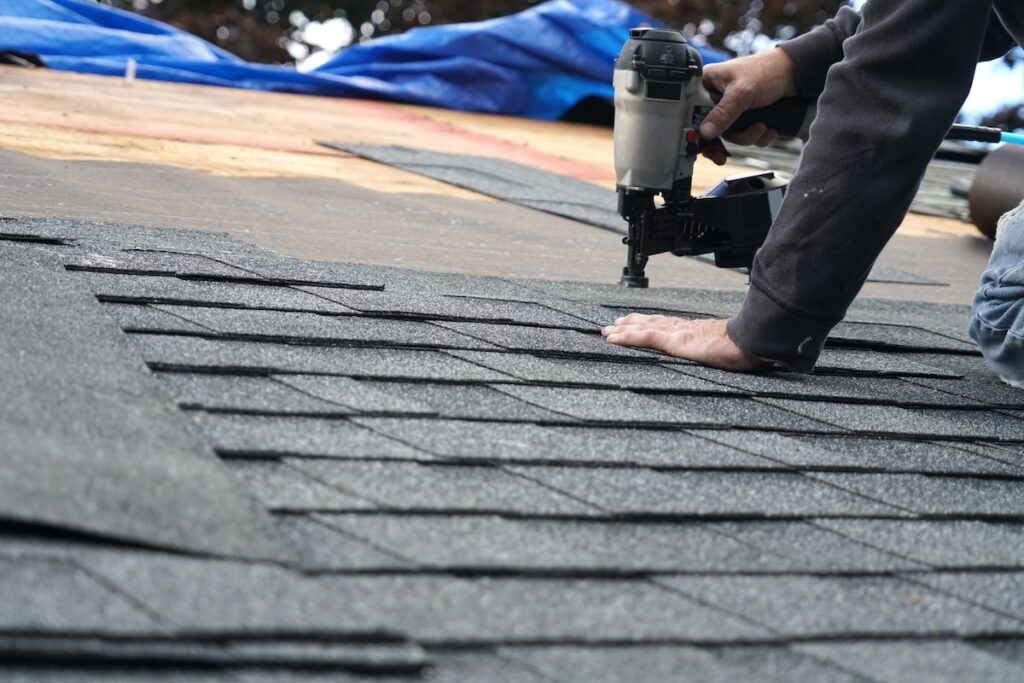
Step 4: Lay the First Course of Shingles
The first shingle is placed over the starter strip, with the lower edge aligned to create a straight edge. Each shingle is secured with roofing nails, with nail heads driven flat but not overdriven. Roofers stagger the shingles so seams don’t align, which strengthens the waterproofing.
Step 5: Build the Second Course and Continue Upward
The second course is laid so that the seams offset the first. This pattern continues row by row toward the roof peak. Chalk lines help maintain alignment across the deck. Shingles are cut as needed to fit around valleys, dormers, and edges. Each row overlaps the one below to direct water safely downward.
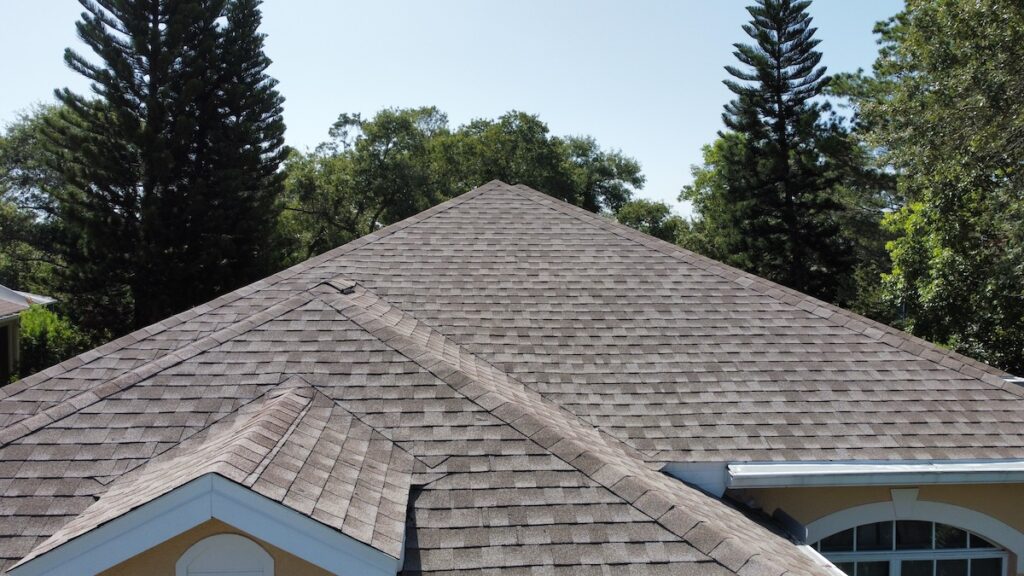
Step 6: Cap the Roof Peak
Once the roof reaches the top, ridge cap shingles are installed over the roof peak. These caps overlap each other to protect the upper edge of the roof and create a finished look. Roofing cement may be added beneath the ridge caps to keep them secure against wind.
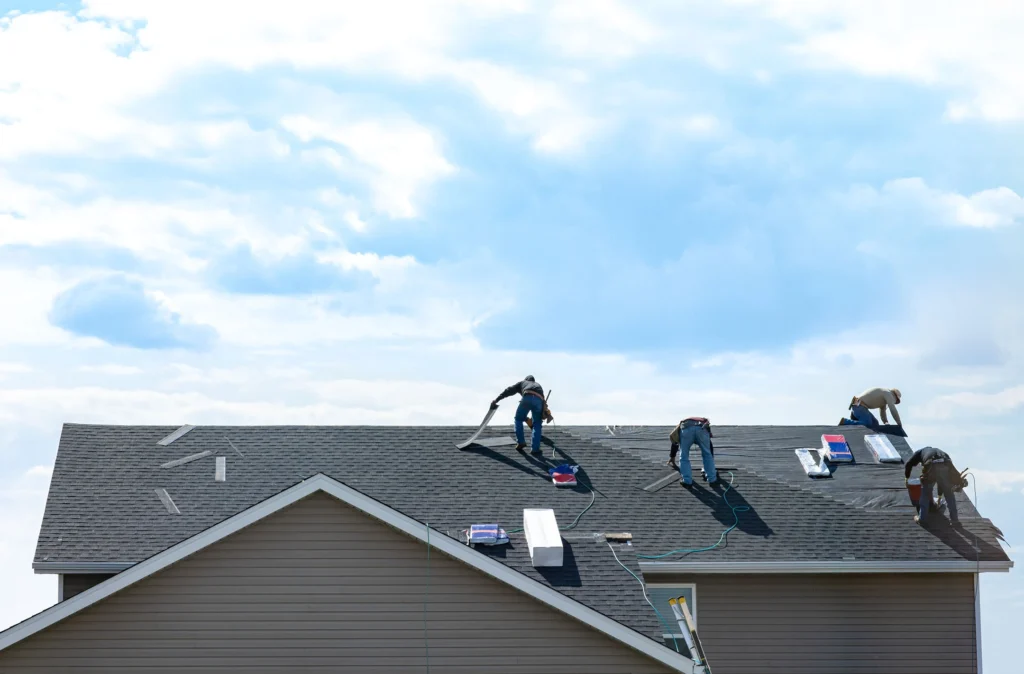
Safety Considerations
Shingling a roof involves significant safety risks. Working at height, handling sharp tools, and dealing with heavy bundles of shingles all add challenges.
- Fall prevention: Harnesses, scaffolding, and ladders reduce fall risk.
- Heat exposure: Roof decks can get extremely hot under the sun, leading to dehydration or heat exhaustion.
- Tool safety: Nail guns, hammers, and knives require proper handling to avoid injury.
- Weather conditions: Wet or windy days make roof shingles slippery and dangerous to install.
Given the significant risks involved—from high heat and slippery surfaces to operating dangerous power tools—professional installation is the wisest choice to ensure safety. A certified roofing team carries the correct fall-prevention equipment and insurance, and they possess the expertise to manage these hazards, guaranteeing a safe, accident-free project for everyone involved.
How Long Does It Take to Shingle a Roof?
The time varies depending on the roofing project size, roof styles, and chosen materials. A small home with standard shingles may take one to two days, while complex designs like a gambrel roof or mansard roof take longer. Larger projects requiring cut shingles, extra flashing, or local building code inspections may extend the timeline.
Cost of Shingling a Roof in California
California costs run higher than the national average due to strict codes and higher labor rates.
- Small roof (1,500 sq. ft.): $7,000–$10,000 for asphalt shingles.
- Medium roof (2,000 sq. ft.): $11,000–$16,000 depending on slope and materials.
- Large roof (2,500+ sq. ft.): $15,000–$25,000 for premium shingles or complex roofs.
Premium features such as architectural shingles, upgraded underlayment, or additional drip edge protection increase the cost but extend the roof’s lifespan.
Professional vs. DIY Shingling
Some homeowners ask whether they should try to learn how to shingle a roof themselves. While DIY can save on labor costs, it comes with risks and limitations.
- DIY pros: Lower upfront expense and personal control over the project.
- DIY cons: Safety risks, no warranty, and higher risk of mistakes like exposed nail heads or uneven shingles.
- Professional pros: Experienced crews, warranties, compliance with local building code, and faster completion.
- Professional cons: Higher upfront cost compared to DIY.
When to Call a Professional
It’s wise to hire a roofing contractor if your roofing project involves steep slopes, complex roof styles, or if you want manufacturer warranty protection. Professionals know how to handle details like starter rows, proper tar strip sealing, and aligning the second course to industry standards. They also ensure flashing, drip edge, and ridge caps are installed correctly to keep water out.
However, the lifespan of the roof is determined by two factors: installation and material quality. Securing your investment means using the best shingles available—top-tier architectural or designer lines—because even a flawless installation cannot compensate for a low-grade, easily degraded material. The shingles and the skill must work together for ultimate longevity.
Trust Capstone Roofing for Shingle Installation
Knowing how to shingle a roof helps homeowners appreciate the careful steps involved, from preparing the roof deck to capping the roof peak. Every detail matters, from chalk lines to nail placement, and mistakes can shorten the life of your roof.
At Capstone Roofing, we specialize in asphalt shingle roof installation, repairs, and replacements. Our team ensures every starter strip, drip edge, and ridge cap is installed to the highest standard, giving your home lasting protection. Contact Capstone Roofing today for a free estimate and let us handle your roofing project with the expertise and care your home deserves.

4.8 RATING
5.0 RATING
A+ RATING