

VELUX Skylight Installation: Benefits, Cost & Process
A professional VELUX skylight installation transforms a home by bringing in natural light, improving ventilation, and increasing property value with one of the most trusted skylight brands in the industry. At Capstone Roofing Inc., we have installed VELUX skylights on homes of every style and size, and we know exactly what it takes to deliver lasting performance from the world’s leading roof window manufacturer. VELUX skylight installation is more than just placing a window in the roof. It is a careful process that integrates the skylight with the existing roofing system to deliver decades of leak-free performance, energy efficiency, and natural light. Understanding the benefits, costs, and step-by-step VELUX skylight installation process helps homeowners make informed decisions and feel confident in their investment.
In this guide, we walk through everything homeowners need to know about VELUX skylight installation, including the benefits, cost factors, and detailed installation process. We will cover:
- The top benefits of VELUX skylights: Why VELUX has become the most recognized name in residential skylights worldwide.
- VELUX skylight installation cost factors: The variables that influence the total cost of a VELUX skylight project.
- The VELUX skylight installation process: A clear, detailed breakdown of each phase from initial planning to final inspection.
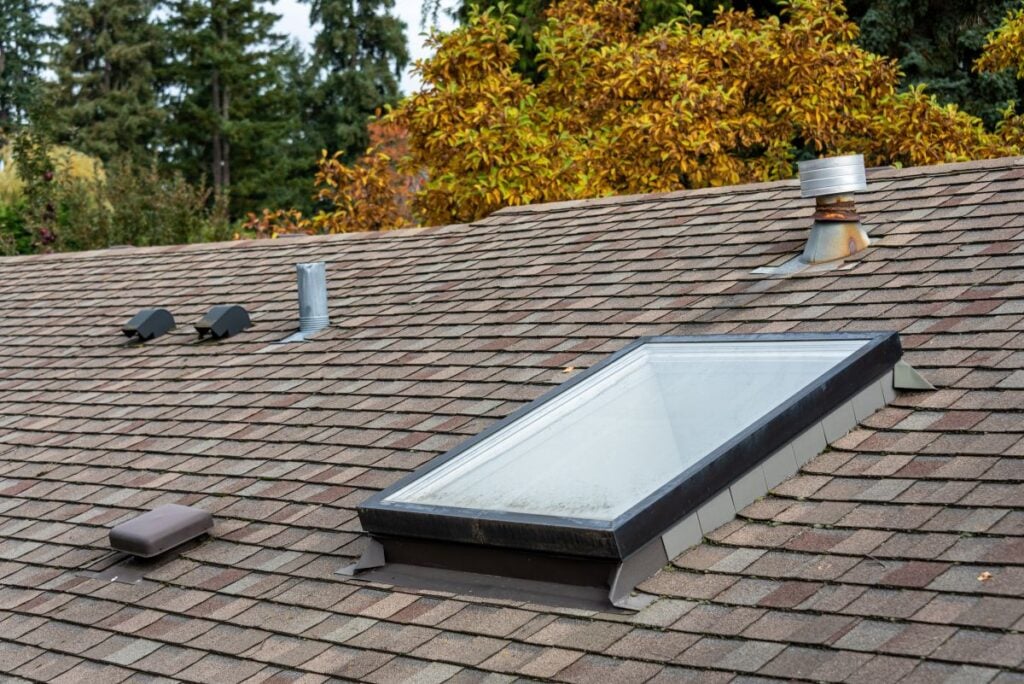
What Is VELUX Skylight Installation?
VELUX skylight installation is the professional process of cutting a precise opening in a roof, installing a VELUX-brand skylight, integrating it with manufacturer-approved flashing, and finishing the interior shaft so the skylight performs reliably for decades. VELUX has been producing skylights and roof windows for over 75 years and is widely recognized as the world leader in daylighting solutions. A proper VELUX skylight installation requires both expertise in skylight products and deep knowledge of roofing systems, which is why working with an experienced contractor matters so much.
Why VELUX Skylights Are the Industry Standard
VELUX has earned its industry-leading reputation through decades of quality engineering, innovative design, and reliable performance. We have worked with homeowners on every type of VELUX skylight project, from single fixed skylights to multi-skylight installations with electric venting and remote controls. The brand’s combination of product quality, comprehensive warranty coverage, and proven flashing systems makes VELUX skylights one of the safest investments in residential daylighting today.
- Industry leader: VELUX is the world’s largest manufacturer of roof windows and skylights, with a presence in over 40 countries.
- Proven flashing systems: VELUX flashing kits are engineered specifically for each roof type to prevent leaks.
- Wide product range: Fixed, manual, electric, and solar-powered VELUX skylights fit nearly any application.
- Strong warranty backing: VELUX offers one of the most comprehensive warranty programs in the skylight industry.
Common VELUX Skylight Models and Options
VELUX produces several different skylight models, each designed for specific applications and roof types. Understanding the VELUX product lineup helps homeowners choose the right skylight for their home’s design, budget, and performance goals. We always present the relevant VELUX options during the consultation so homeowners can make a confident, informed decision.
- VELUX FS fixed skylights: Non-opening units that maximize natural light without ventilation features.
- VELUX VS manual venting skylights: Operable units that open with a control rod for natural air flow.
- VELUX VSE electric skylights: Powered venting units operated with a remote control for easy access.
- VELUX VSS solar-powered skylights: Self-contained venting units powered by an integrated solar panel.
Top Benefits of VELUX Skylight Installation
VELUX skylight installation delivers a wide range of benefits that make it one of the most popular home improvement projects in the residential market. Below are the key benefits homeowners consistently see after installing VELUX skylights in their homes. Each one contributes to the long-term value and enjoyment of the home.
Natural Daylight and Brighter Interiors
The most immediate and noticeable benefit of VELUX skylight installation is the dramatic increase in natural daylight throughout interior spaces. Rooms that previously relied entirely on artificial lighting suddenly feel open, bright, and welcoming. Skylights deliver more usable daylight per square foot than traditional vertical windows because they have direct exposure to the sky and capture light throughout the day.
- Greater light volume: Skylights deliver significantly more natural light per square foot than vertical windows.
- All-day illumination: Light enters from above throughout the day rather than only when the sun aligns with windows.
- Mood and well-being: Natural light has been linked to improved mood, productivity, and overall well-being.
- Reduced electric use: Less reliance on electric lighting during daylight hours lowers energy consumption.
Improved Ventilation and Indoor Air Quality
Venting VELUX skylights offer a practical benefit that fixed skylights cannot match. By opening to allow warm air to escape from the top of the room, venting skylights help reduce humidity, cooking odors, and stale air. This natural ventilation can reduce reliance on air conditioning during mild weather and improve overall indoor air quality.
- Stack effect ventilation: Hot air rises and escapes through the open skylight, drawing in cooler air from below.
- Humidity control: Venting skylights help remove excess moisture from kitchens, bathrooms, and laundry rooms.
- Odor removal: Cooking and other interior odors escape quickly through an open skylight.
- Reduced AC reliance: Natural ventilation during mild weather lowers cooling costs.
Energy Efficiency and Lower Utility Bills
Modern VELUX skylights are engineered for energy efficiency with low-emissivity coatings, insulated glass units, and energy-efficient framing. These features minimize heat loss during winter and unwanted heat gain during summer. Combined with reduced reliance on electric lighting, VELUX skylights can contribute to meaningful energy savings over time.
- Low-E glass coatings: Reflect heat back into the home in winter and away from the home in summer.
- Insulated glass units: Multiple panes with inert gas fills reduce thermal transfer through the glazing.
- ENERGY STAR qualified options: Many VELUX skylights meet ENERGY STAR criteria for energy performance.
- Lighting savings: Reduced need for electric lighting during the day lowers overall energy use.
Increased Property Value and Curb Appeal
VELUX skylight installation can increase a home’s market value and curb appeal by adding a desirable, well-recognized feature. Buyers consistently value homes with abundant natural light, and the VELUX brand name carries weight in the real estate market. A quality skylight installation positions the home as well-maintained and thoughtfully improved.
- Buyer appeal: Homes with natural light features consistently attract stronger buyer interest.
- Brand recognition: The VELUX name signals quality to buyers, inspectors, and real estate professionals.
- Visual improvement: Skylights add architectural interest and improve interior aesthetics.
- Long-term investment: Quality skylights deliver returns through both enjoyment and resale value.
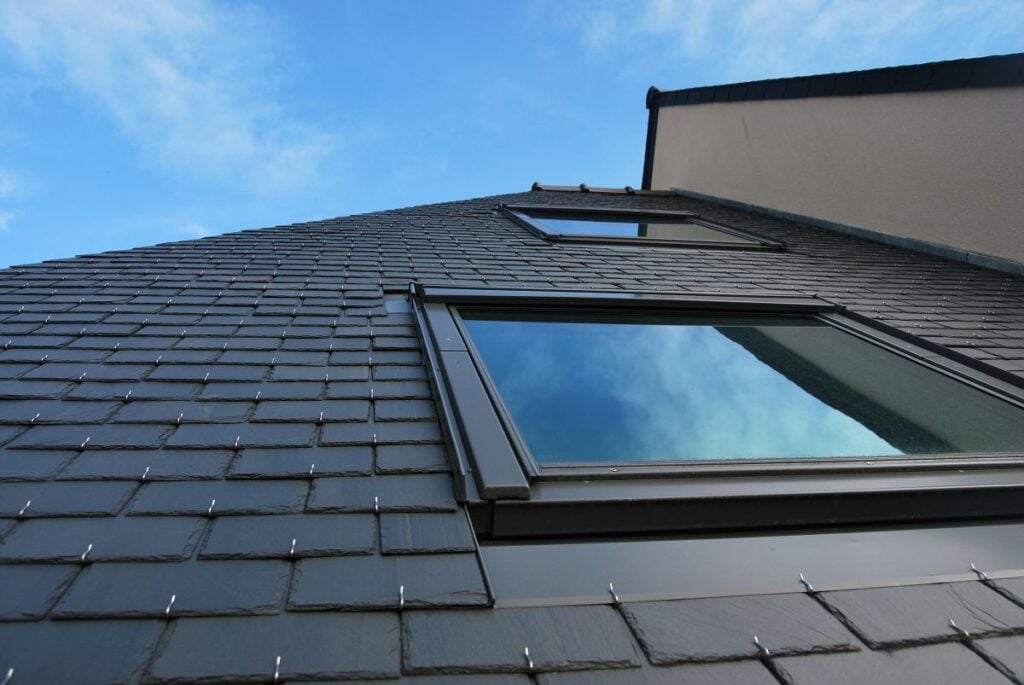
VELUX Skylight Installation Cost Factors
The cost of VELUX skylight installation varies based on several specific factors. Understanding these factors helps homeowners plan their budget and evaluate proposals accurately. We always provide clear, written estimates so homeowners know exactly what to expect before any work begins. A typical VELUX skylight installation cost includes the product, the flashing kit, all labor, interior finishing, and any required permits.
Variables That Influence VELUX Skylight Installation Cost
Several variables determine the final cost of any VELUX skylight installation project. Some factors are within the homeowner’s control through product selection, while others depend on the home’s existing design and condition. We walk homeowners through each variable during the consultation so they can make informed decisions about scope and budget.
- Skylight type: Fixed VELUX skylights cost less than manual venting, electric, or solar-powered models.
- Size selection: Larger VELUX skylights cost more than smaller units in product price and installation labor.
- Glazing upgrades: Impact-resistant glass, extra-energy-efficient glazing, and specialty coatings add to product cost.
- Roof type and pitch: Steeper roofs and specialty roofing materials affect installation labor and time.
- Shaft complexity: Longer shafts, splayed shafts, or angled shaft designs increase interior finishing work.
- Number of skylights: Multi-skylight projects often offer better per-unit pricing than single-skylight installations.
8 Step VELUX Skylight Installation Process
A professional VELUX skylight installation follows a clear sequence designed to deliver lasting performance and complete code compliance. Below are the eight steps we follow on every VELUX skylight project. Each step plays an essential role in ensuring the skylight performs as expected and the surrounding roof remains fully protected.
1. Initial Consultation and Site Assessment
The VELUX skylight installation process begins with a thorough consultation and on-site assessment. We walk the property, evaluate the roof condition, identify the best location for the skylight, and discuss the homeowner’s goals for natural light and ventilation. This first step is where successful VELUX skylight projects are designed from the start. Choosing the right location, size, and VELUX product requires careful evaluation of the roof structure, interior space, sun exposure, and any code requirements that apply.
- Roof evaluation: Assess the existing roof condition, pitch, structural capacity, and material type.
- Interior space analysis: Identify which rooms will benefit most from added natural light and ventilation.
- Code and permit review: Check local building codes and identify any required permits for the installation.
- Sun exposure planning: Evaluate roof orientation to maximize daylight benefits while managing heat gain.
2. VELUX Product Selection and Specification
Once the site is evaluated, the next step is selecting the specific VELUX product that best fits the project. VELUX offers many options across sizes, glazing types, frame materials, and feature sets. The right choice depends on the home’s design, the intended use of the skylight, the local climate, and the homeowner’s budget. We help homeowners explore the relevant VELUX options and explain the differences so they can choose with confidence.
- VELUX skylight model: Choose between fixed, manual venting, electric, or solar-powered VELUX options.
- Glazing configuration: Select from standard, impact-resistant, or extra-energy-efficient VELUX glazing.
- Size and frame finish: Match the VELUX skylight size to the room and choose interior frame finish to suit the design.
- Accessories selection: Consider VELUX shades, blinds, and remote controls to enhance the finished installation.
3. Permitting and Project Preparation
Before VELUX skylight installation begins, we handle any required permitting and prepare the work area. Most skylight installations require a building permit, and we manage the application process as part of the project. Preparation also includes protecting interior surfaces, setting up safe work zones, and gathering all materials needed for the installation day. Proper preparation is essential to a smooth, efficient VELUX skylight installation.
- Building permit: Submit and obtain the required permit for the VELUX skylight installation.
- Interior protection: Cover floors, furniture, and surfaces below the work area to prevent damage and debris.
- Material staging: Gather the VELUX skylight, flashing kit, fasteners, and all tools needed for the installation.
- Workspace setup: Establish safe work zones inside and outside the home for an efficient project.
4. Roof Opening and Structural Preparation
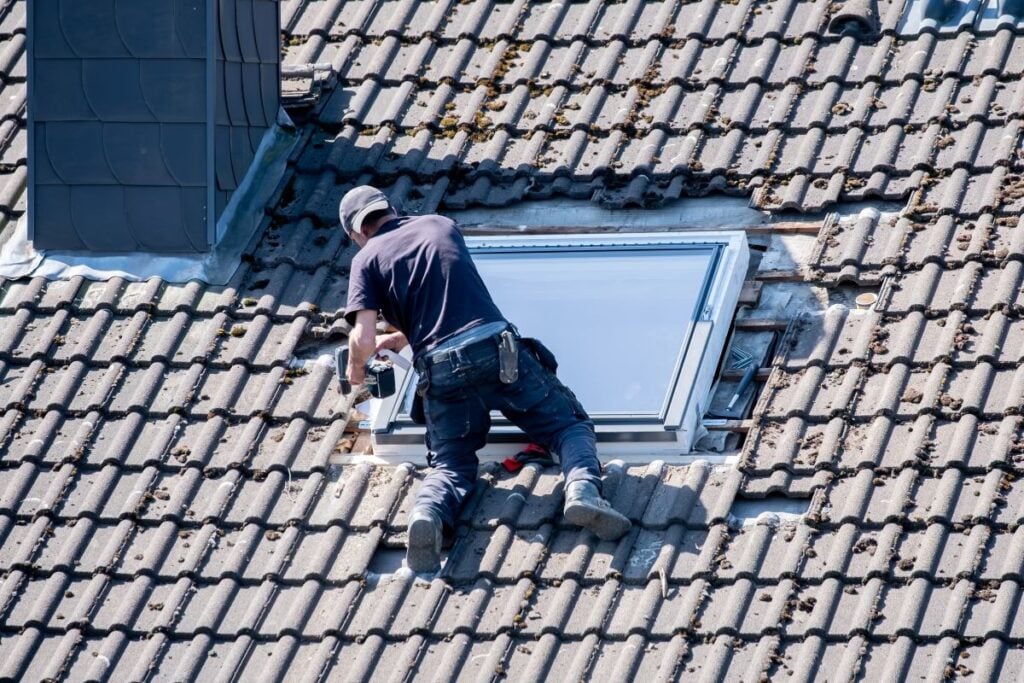
With the site prepared, the next step is creating the precise roof opening and preparing the structure for the new VELUX skylight. This step involves cutting through the roof decking, removing shingles or other roofing materials in the immediate area, and reinforcing the surrounding framing as needed. We take great care during this step because the quality of the roof opening directly affects how well the VELUX skylight performs over time.
- Precise opening creation: Cut the roof opening to match the exact dimensions specified by the VELUX product.
- Framing reinforcement: Add headers and supports as needed to maintain structural integrity around the opening.
- Roofing material removal: Carefully remove shingles or roofing materials in the work area for flashing integration.
- Weather protection: Maintain temporary weather protection during the open-roof phase of the installation.
5. VELUX Skylight and Flashing Installation
With the opening prepared, the actual VELUX skylight is installed. VELUX skylights use specially designed flashing kits that integrate the skylight with the surrounding roofing material to create a watertight assembly. According to VELUX, deck-mounted VELUX skylights come with a 10-year “No Leak” installation warranty that covers correct skylight and appropriate flashing installations when installed using the VELUX flashing system. We always use genuine VELUX flashing kits and follow VELUX installation guidelines exactly to maintain warranty coverage and ensure long-term performance.
- Skylight positioning: Place the VELUX skylight precisely into the prepared opening and secure to the structure.
- VELUX flashing system: Install the manufacturer-specific VELUX flashing kit designed for the roofing material.
- Sealant application: Apply VELUX-approved sealants at every joint where the skylight meets the roof.
- Roofing reintegration: Replace and integrate shingles or roofing materials around the new VELUX flashing system.
6. Interior Shaft Construction
Once the VELUX skylight is installed and weathertight, the next step focuses on the interior. Most VELUX skylight installations require constructing a shaft that connects the roof opening to the ceiling of the room below. The shaft can be straight, splayed, or angled depending on the design goals and the depth of the attic space. We always finish the shaft to integrate seamlessly with the surrounding ceiling and walls.
- Shaft framing: Build the structural framing for the shaft connecting the roof opening to the room below.
- Insulation installation: Insulate the shaft thoroughly to maintain energy performance and prevent condensation.
- Drywall installation: Install drywall, tape, mud, and paint to match the surrounding interior surfaces.
- Trim and finishing: Add any decorative trim around the ceiling opening for a clean, finished appearance.
7. Operation Testing and System Verification
For venting VELUX skylight models, the next step is testing the operation of all moving components and verifying the system works as designed. We confirm the skylight opens and closes correctly, the remote control or solar components function properly, and any blinds or shades operate smoothly. This step ensures the homeowner receives a fully functional VELUX skylight ready for daily use.
- Operation verification: Test opening and closing of any venting features in the VELUX skylight.
- Remote control setup: Pair and test any remote controls included with electric or solar VELUX models.
- Solar panel verification: For solar VELUX skylights, confirm the solar panel charges and operates correctly.
- Accessory testing: Verify the operation of any shades, blinds, or controls installed with the skylight.
8. Final Inspection and Homeowner Walkthrough
The VELUX skylight installation ends with a thorough final inspection and walkthrough with the homeowner. We verify every aspect of the installation, confirm the skylight is ready for service, and explain how to care for the new system. This final step ensures homeowners feel completely confident about their VELUX skylight before we leave the property.
- Quality inspection: Walk every aspect of the installation to confirm proper finishing inside and out.
- Cleanup completion: Remove all debris, packaging, and old materials from the property.
- Homeowner walkthrough: Explain the new VELUX skylight, demonstrate operation, and review care recommendations.
- Warranty documentation: Provide all warranty paperwork and instructions for product registration.
Frequently Asked Questions About VELUX Skylight Installation
Homeowners often have similar questions about VELUX skylight installation. Below are direct answers to the questions we hear most often. These answers reflect general guidance and can be tailored to specific projects during a professional consultation.
How Long Does VELUX Skylight Installation Take?
Most VELUX skylight installations take one to two days from start to finish, including both the exterior installation and interior finishing work. Projects with complex shaft construction, multiple VELUX skylights, or larger units may take longer. We always provide clear timeline expectations during the planning stage so homeowners can plan around the project. Weather can affect scheduling, so we monitor conditions carefully to avoid working during rain or extreme temperatures.
- Standard installation: One to two days for a typical single VELUX skylight installation on an accessible roof.
- Multiple VELUX skylights: Two to three days for projects involving several units on the same home.
- Complex shaft projects: Additional time may be required for longer or splayed shaft construction.
- Weather impact: Conditions may extend timelines since some installation steps require dry weather.
How Much Does VELUX Skylight Installation Cost?
VELUX skylight installation cost varies significantly based on the type and size of the skylight, the complexity of the roof and shaft, and any added features like venting, glazing upgrades, or accessories. Fixed VELUX skylights cost less than venting models, and solar-powered VELUX skylights fall somewhere in between. We always provide clear, written estimates so homeowners know exactly what to expect before any work begins.
- Fixed VELUX skylights: Typically the most affordable VELUX option for adding natural light.
- Manual venting models: Add moderate cost over fixed units while providing ventilation capability.
- Electric and solar models: Higher cost due to integrated motors, controls, and additional components.
- Total project factors: Roof complexity, shaft construction, and necessary structural work also affect total cost.
Do VELUX Skylights Come With a Warranty?
Yes, VELUX skylights come with one of the strongest warranties in the skylight industry, including a 10-year “No Leak” installation warranty for deck-mounted VELUX skylights with proper flashing installation. VELUX also provides a 20-year glass warranty, a 10-year product warranty, and a 5-year warranty on blinds and controls. We always discuss VELUX warranty coverage with homeowners so they understand exactly what protection comes with their installation.
- 10-year No Leak installation warranty: Covers properly installed deck-mounted VELUX skylights using VELUX flashing kits.
- 20-year glass warranty: Protects against seal failure on insulated glass units.
- 10-year product warranty: Covers defects in materials and workmanship of the VELUX skylight itself.
- 5-year blinds and controls warranty: Protects shade mechanisms and control systems.
Are VELUX Skylights Worth the Investment?
VELUX skylights are widely considered one of the best investments homeowners can make for adding natural light, improving ventilation, and increasing property value. The combination of VELUX product quality, comprehensive warranty coverage, and proven flashing systems makes VELUX skylights one of the most reliable options available. We help homeowners evaluate whether VELUX skylight installation makes sense for their specific home and goals during the consultation.
- Natural light benefits: VELUX skylights deliver significantly more daylight than traditional windows.
- Energy performance: Modern VELUX glazing reduces heat loss and unwanted solar heat gain.
- Property value: Quality skylight installations can increase a home’s market value and appeal to buyers.
- Long-term warranty: VELUX warranty coverage protects the investment for decades.
Can VELUX Skylights Be Added to an Existing Roof?
Yes, VELUX skylights can be added to most existing residential roofs through a retrofit installation. The process involves cutting an opening in the existing roof, installing the VELUX skylight with proper flashing, and finishing the interior shaft. Retrofit projects work well on most roof types and are often paired with other roofing projects for added efficiency. We evaluate each home individually to confirm the existing roof structure supports a VELUX skylight retrofit.
- Retrofit suitability: Most existing residential roofs can accommodate VELUX skylight additions.
- Roof condition check: A professional inspection confirms the existing roof is ready for the project.
- Reroofing opportunity: Adding VELUX skylights during a planned roof replacement reduces overall project cost.
- Code compliance: Retrofits must meet current building codes for structural integrity and safety.
Trust Capstone Roofing Inc. for VELUX Skylight Installation
A VELUX skylight is a significant investment in any home, and the quality of the installation makes a real difference in how well it performs over decades. At Capstone Roofing Inc., we bring deep experience with VELUX products and the careful attention to detail every VELUX skylight installation deserves. Our team takes the time to understand each homeowner’s goals, recommend the right VELUX product, and complete every installation to the standards that protect both the product and the surrounding roof. We pride ourselves on honest assessments, transparent pricing, and craftsmanship that delivers lasting results from the world’s leading skylight brand. If you are considering VELUX skylight installation for your home and want a professional team you can trust to handle your project from start to finish, we are here to help. Contact Capstone Roofing Inc. today for a free inspection and expert guidance from a team you can trust.
Recent Articles
Roofing Tips & Tricks


4.8 RATING

5.0 RATING

A+ RATING