

How to Tarp a Roof: 6 Steps for Emergency Protection
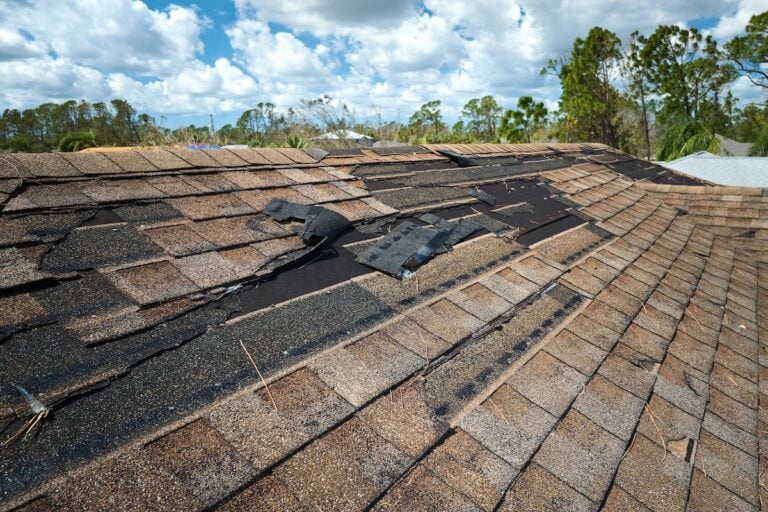
Knowing how to tarp a roof safely and correctly can save a home from thousands of dollars in additional water damage when disaster strikes. However, never attempt roof work during active storms, high winds, or when surfaces are wet or icy, as these conditions significantly increase the risk of accidents. At Capstone Roofing Inc., we have responded to countless storm calls where a properly installed emergency tarp made the difference between a contained problem and a catastrophic one. According to the Insurance Information Institute, about one in 36 insured homes has a property damage claim related to wind or hail each year, making it the most common type of homeowners insurance claim in the country. When wind, hail, or fallen debris causes roof damage, fast action keeps water out of the home until a professional repair can take place. It’s important to remember that tarping is only a temporary measure and not a permanent fix, roof replacements are often necessary after severe roof damage to ensure long-term protection and structural integrity.
In this guide, we walk through the six essential steps for safely tarping a damaged roof along with the equipment and precautions that make the difference. We will cover:
- The right materials and tools: What homeowners need to gather before climbing up to install an emergency tarp.
- The six-step tarping process: A clear, sequential guide to covering a damaged roof safely and effectively.
- When to call a professional: The point at which emergency tarping should be left to trained roofing experts.
Why Emergency Roof Tarping Matters

A damaged roof is one of the few home emergencies where every passing hour increases the cost of repair. Once water begins entering a home through compromised shingles, exposed decking, or storm-related holes, the damage spreads quickly to insulation, drywall, electrical systems, and structural framing. Emergency roof tarping creates a temporary waterproof barrier and serves as a temporary fix that buys homeowners the time they need to schedule permanent repairs. The main goal of tarping is to prevent water from entering the home and causing further damage. We always recommend tarping as soon as conditions allow, since even a single rainfall can cause substantial interior damage.
If you notice signs of structural damage, such as deep cracks or warped decking, you should call a professional roofing contractor instead of attempting repairs yourself.
When to Tarp a Roof After Storm Damage
Knowing when emergency tarping is necessary helps homeowners act quickly without overreacting to minor issues. Not every roofing problem requires a tarp, but certain situations call for immediate temporary protection. Measuring the roof properly is crucial to ensure the tarp fits and fully covers the damaged area. We help families understand the difference between issues that can wait for a scheduled repair and damage that needs covering right away.
- Visible holes or missing sections: Any opening that exposes the interior of the home requires immediate temporary protection.
- Large areas of missing shingles: Significant shingle loss exposes the underlayment and decking to direct water infiltration. The tarp should extend over the roof peak for maximum protection.
- Fallen tree limbs or storm debris: Punctures or impact damage from debris almost always need emergency tarping.
- Active interior leaks: Visible water entering the home means the roof is no longer keeping moisture out.
Accurate measurements can be the difference between a smooth fix and a massive headache; a tarp should extend at least 4 feet past the damaged area on all sides to ensure complete coverage and prevent water from seeping in.
Remember, tarping is not a permanent solution. It is a temporary fix to buy time until professional repairs or a more durable, permanent solution can be made.
Why DIY Tarping Has Real Limitations
While many homeowners can install a basic emergency tarp safely, this work carries genuine risks and limitations that deserve honest discussion. Climbing onto a damaged roof is dangerous, especially after a storm when surfaces are wet, debris is scattered, and structural integrity may be compromised. If you have physical limitations, health concerns, or are unsure of your abilities, avoid working on the roof and contact a professional instead. For safety, always wear slip-resistant footwear and work with a partner when tarping a roof. We always encourage homeowners to weigh the risks honestly and call a professional when conditions or skill levels do not match the job.
- Fall hazards: Wet, sloped, and damaged roofs create serious fall risks that can result in life-changing injuries. Steep roofs and roofs with multiple levels are especially dangerous and should be left to professionals.
- Hidden structural issues: Damaged roofs may have weakened decking that cannot safely support a person’s weight.
- Limited durability: Self-installed tarps typically last only a few weeks before wind and weather degrade them.
- Insurance implications: Improper tarping that causes additional damage could complicate future insurance claims.
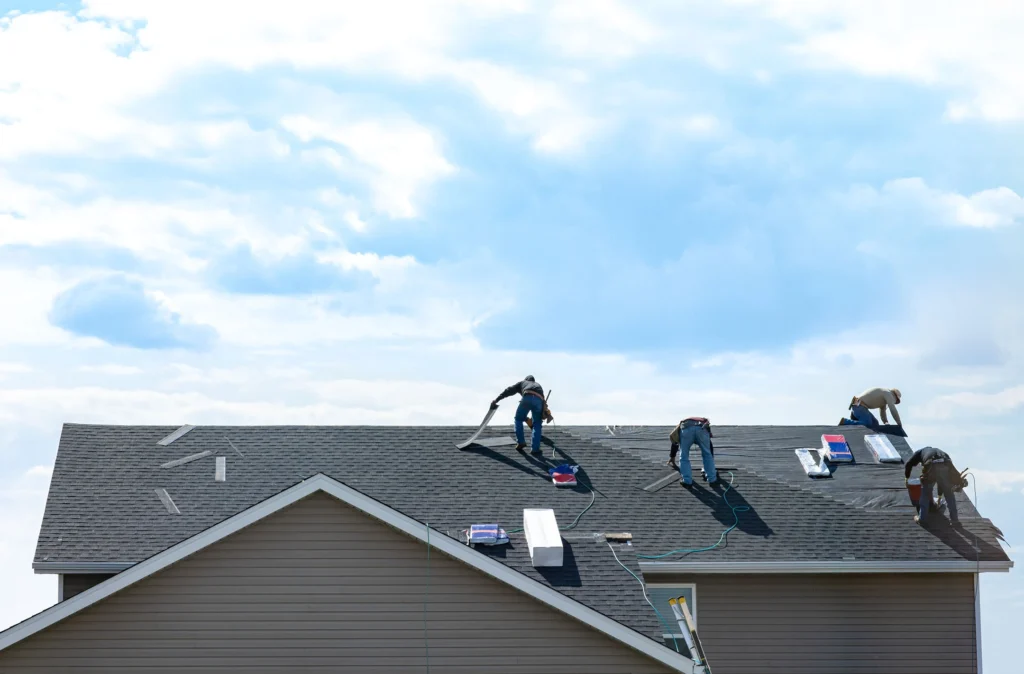
Professional roofers have the necessary roofing experience to handle complex or hazardous situations, ensuring repairs are done safely and effectively.
6 Steps for Tarping a Roof Safely and Effectively
When emergency tarping is the right call and conditions allow safe access, following a clear sequence of steps delivers the best results. Before starting, always check weather forecasts and assess current weather conditions to ensure it is safe to work and to select materials that can withstand the environment. Working in teams is essential for safety and efficiency—one person can stabilize the ladder while the other works. Below are the six essential steps we use when installing emergency roof tarps. Each step matters, and skipping any of them increases the risk of water intrusion or tarp failure during the next storm.
1. Gather the Right Materials and Safety Equipment
Before any work begins, having the right equipment on hand makes the entire process safer and more effective. We always recommend gathering everything needed before climbing the ladder, since trips up and down a damaged roof multiply the risk of accidents. The materials matter as much as the technique, since low-quality supplies often fail at the worst possible time.
- Heavy-duty tarp: Choose a polyethylene tarp at least six millimeters thick and large enough to cover the damaged area plus a four-foot overlap on every side.
- Two-by-four lumber: Wooden boards anchor the tarp edges and prevent wind from lifting the cover during storms.
- Galvanized nails or screws: Corrosion-resistant fasteners hold the boards in place without rusting through quickly.
- Safety gear: A sturdy ladder, non-slip shoes, work gloves, safety glasses, and ideally a roof harness with anchor points.
2. Assess the Damage and Plan Tarp Placement
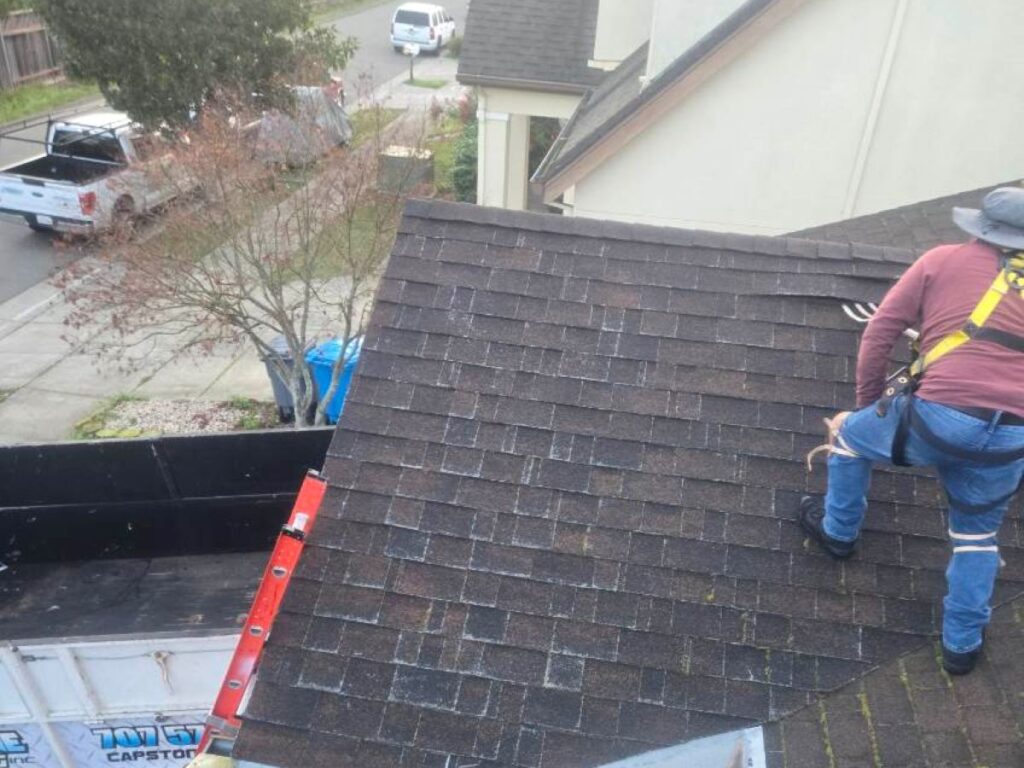
Before installing anything, we take time to evaluate the full extent of the damage and plan exactly where the tarp will go. A quick assessment from the ground using binoculars or a smartphone camera helps identify problem areas without immediately climbing up. The goal is to cover the damage completely while extending the tarp from the ridge of the roof down past the affected area, since this orientation lets water flow over the tarp rather than under it.
- Ground-level survey: Walk around the home and identify every visible area of damage before going up the ladder.
- Photo documentation: Take photos for insurance purposes before installing the tarp covers the damage from view.
- Tarp orientation planning: Plan to anchor the tarp at the roof ridge so water flows naturally down and off the cover.
- Coverage measurement: Measure the damaged area and confirm the tarp extends at least four feet beyond it on every side.
3. Clear Debris From the Damaged Area
Before laying any tarp, the damaged area needs to be cleared of loose debris like shingle fragments, branches, leaves, and broken materials. Tarping over debris creates uneven surfaces, traps moisture against the roof, and makes the tarp more likely to tear or shift in the wind. We always take the time to clear the work area thoroughly, since this single step significantly improves tarp performance.
- Loose shingle removal: Pick up or sweep away any shingles, granules, or asphalt fragments around the damaged area.
- Branch and debris clearing: Remove fallen branches, leaves, and other storm debris from the section being tarped.
- Sharp object check: Look for nails, screws, or sharp materials that could puncture the tarp from below.
- Surface drying: When safe and possible, let the area dry briefly before installation to improve adhesion of any sealant or tape used.
4. Position and Spread the Tarp Correctly
With the area prepared, the next step is positioning the tarp so it covers the damage and extends past the roof ridge. We always anchor the tarp at the highest point first, allowing it to drape down naturally over the damaged section. This top-down placement ensures water sheds correctly and reduces the chance of leaks at seams or edges. A second person on the ground or roof helps tremendously during this step.
- Top-anchor placement: Position the tarp so its top edge extends at least four feet over the roof ridge for proper water shedding.
- Smooth spreading: Spread the tarp flat across the damaged area, eliminating wrinkles, folds, or trapped air pockets.
- Edge overlap confirmation: Verify the tarp extends beyond the damaged area on every side by at least four feet.
- Helper coordination: Work with a partner whenever possible to keep the tarp under control during placement.
5. Secure the Tarp With Anchor Boards
The most critical step in tarping a roof is anchoring the cover so wind cannot lift it. We do this by sandwiching the tarp edges between two-by-four boards and nailing or screwing through both layers into the roof structure. Wrapping the tarp ends around the boards before fastening creates a strong, weather-resistant seal that holds up far better than nails driven directly through tarp material.
- Edge wrapping: Roll each edge of the tarp around a two-by-four board several times to create a reinforced anchor point.
- Board placement: Position anchor boards along all four edges of the tarp, with extra reinforcement at the top.
- Fastener spacing: Drive nails or screws every twelve inches along each board to distribute load evenly.
- Secondary anchors: Add additional boards across the middle of large tarps to prevent wind lift in heavy storms.
6. Inspect the Installation and Plan for Permanent Repair
Once the tarp is secured, we conduct a final inspection to verify the installation is tight, sealed at the edges, and oriented to shed water correctly. Strong winds and high winds can compromise the tarp by loosening fasteners or turning the tarp into a sail, so regular inspection is necessary. Remember, tarping is only a temporary fix and not a long-term solution. This is also the time to plan for the permanent repair, since emergency tarps are temporary solutions only. Most tarps last between thirty and ninety days depending on weather and tarp quality. We always remind homeowners that the next call should be to a roofing professional to schedule full permanent repairs.
- Tightness check: Press on the tarp surface to confirm there are no loose sections that could flap or tear in wind.
- Edge verification: Walk the perimeter of the tarp confirming every anchor board is secure and properly fastened.
- Water flow test: When safe, simulate water flow visually to confirm the tarp directs runoff away from the damage.
- Repair scheduling: Contact a professional roofing contractor immediately to schedule a thorough inspection and permanent repair.
What to Do After Tarping the Roof
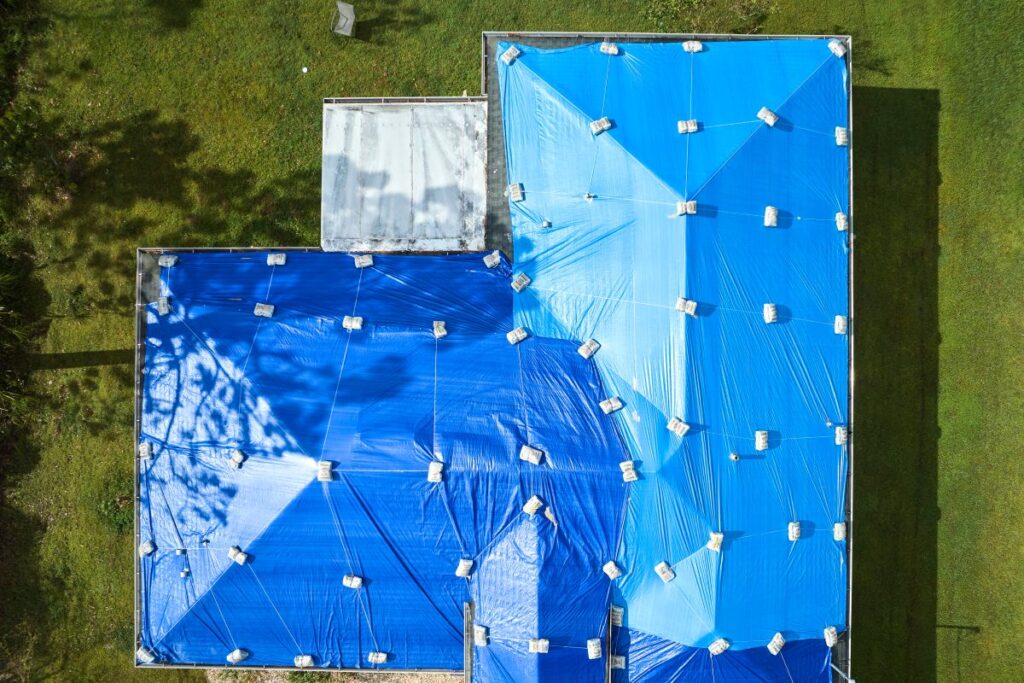
Tarping the roof is only the first step in handling storm damage and should not be considered a permanent solution. Once the immediate threat is controlled, homeowners need to plan for a full repair or replacement using proper roofing materials and roofing cement. Additionally, it’s important to take further actions to protect the home, document the damage, and start the repair process. We always walk our clients through these next steps so nothing important gets missed in the chaos following a storm.
Documentation, Insurance, and Permanent Repair
Quick action after tarping protects both the home and any future insurance claim. Photos, receipts, and professional inspection reports all become essential when working with insurance adjusters. We help homeowners gather everything they need so their claim moves smoothly and they can transition from emergency protection to permanent repair as quickly as possible.
- Photo and video records: Document the damage thoroughly before, during, and after tarping for insurance purposes.
- Receipt preservation: Keep receipts for all materials and emergency expenses, as many policies cover these costs.
- Insurance contact: Notify the insurance company promptly to start the claim process and schedule an adjuster visit.
- Professional inspection: Schedule a thorough roof inspection from a trusted contractor to assess the full scope of repairs needed.
Trust Capstone Roofing Inc. for Emergency Roof Tarping and Repairs
Storm damage moves fast, and so should the response to it. At Capstone Roofing Inc., we understand the urgency of protecting a home after the roof has been compromised, and we bring years of roofing experience and emergency response expertise to every call. Our team treats each storm-damaged property with the same care we would give our own homes, providing fast, professional tarping when conditions demand it and following through with quality permanent repairs when the time comes. We pride ourselves on honest assessments, transparent communication, and craftsmanship that protects families through the worst weather and beyond. If you are searching for how to tarp a roof because storm damage has put your home at risk, we are here to help. Contact Capstone Roofing Inc. today for a free inspection and expert guidance from a team you can trust.


4.8 RATING

5.0 RATING

A+ RATING